Coffee Ratios Explained: How to Dial In Strength and Taste
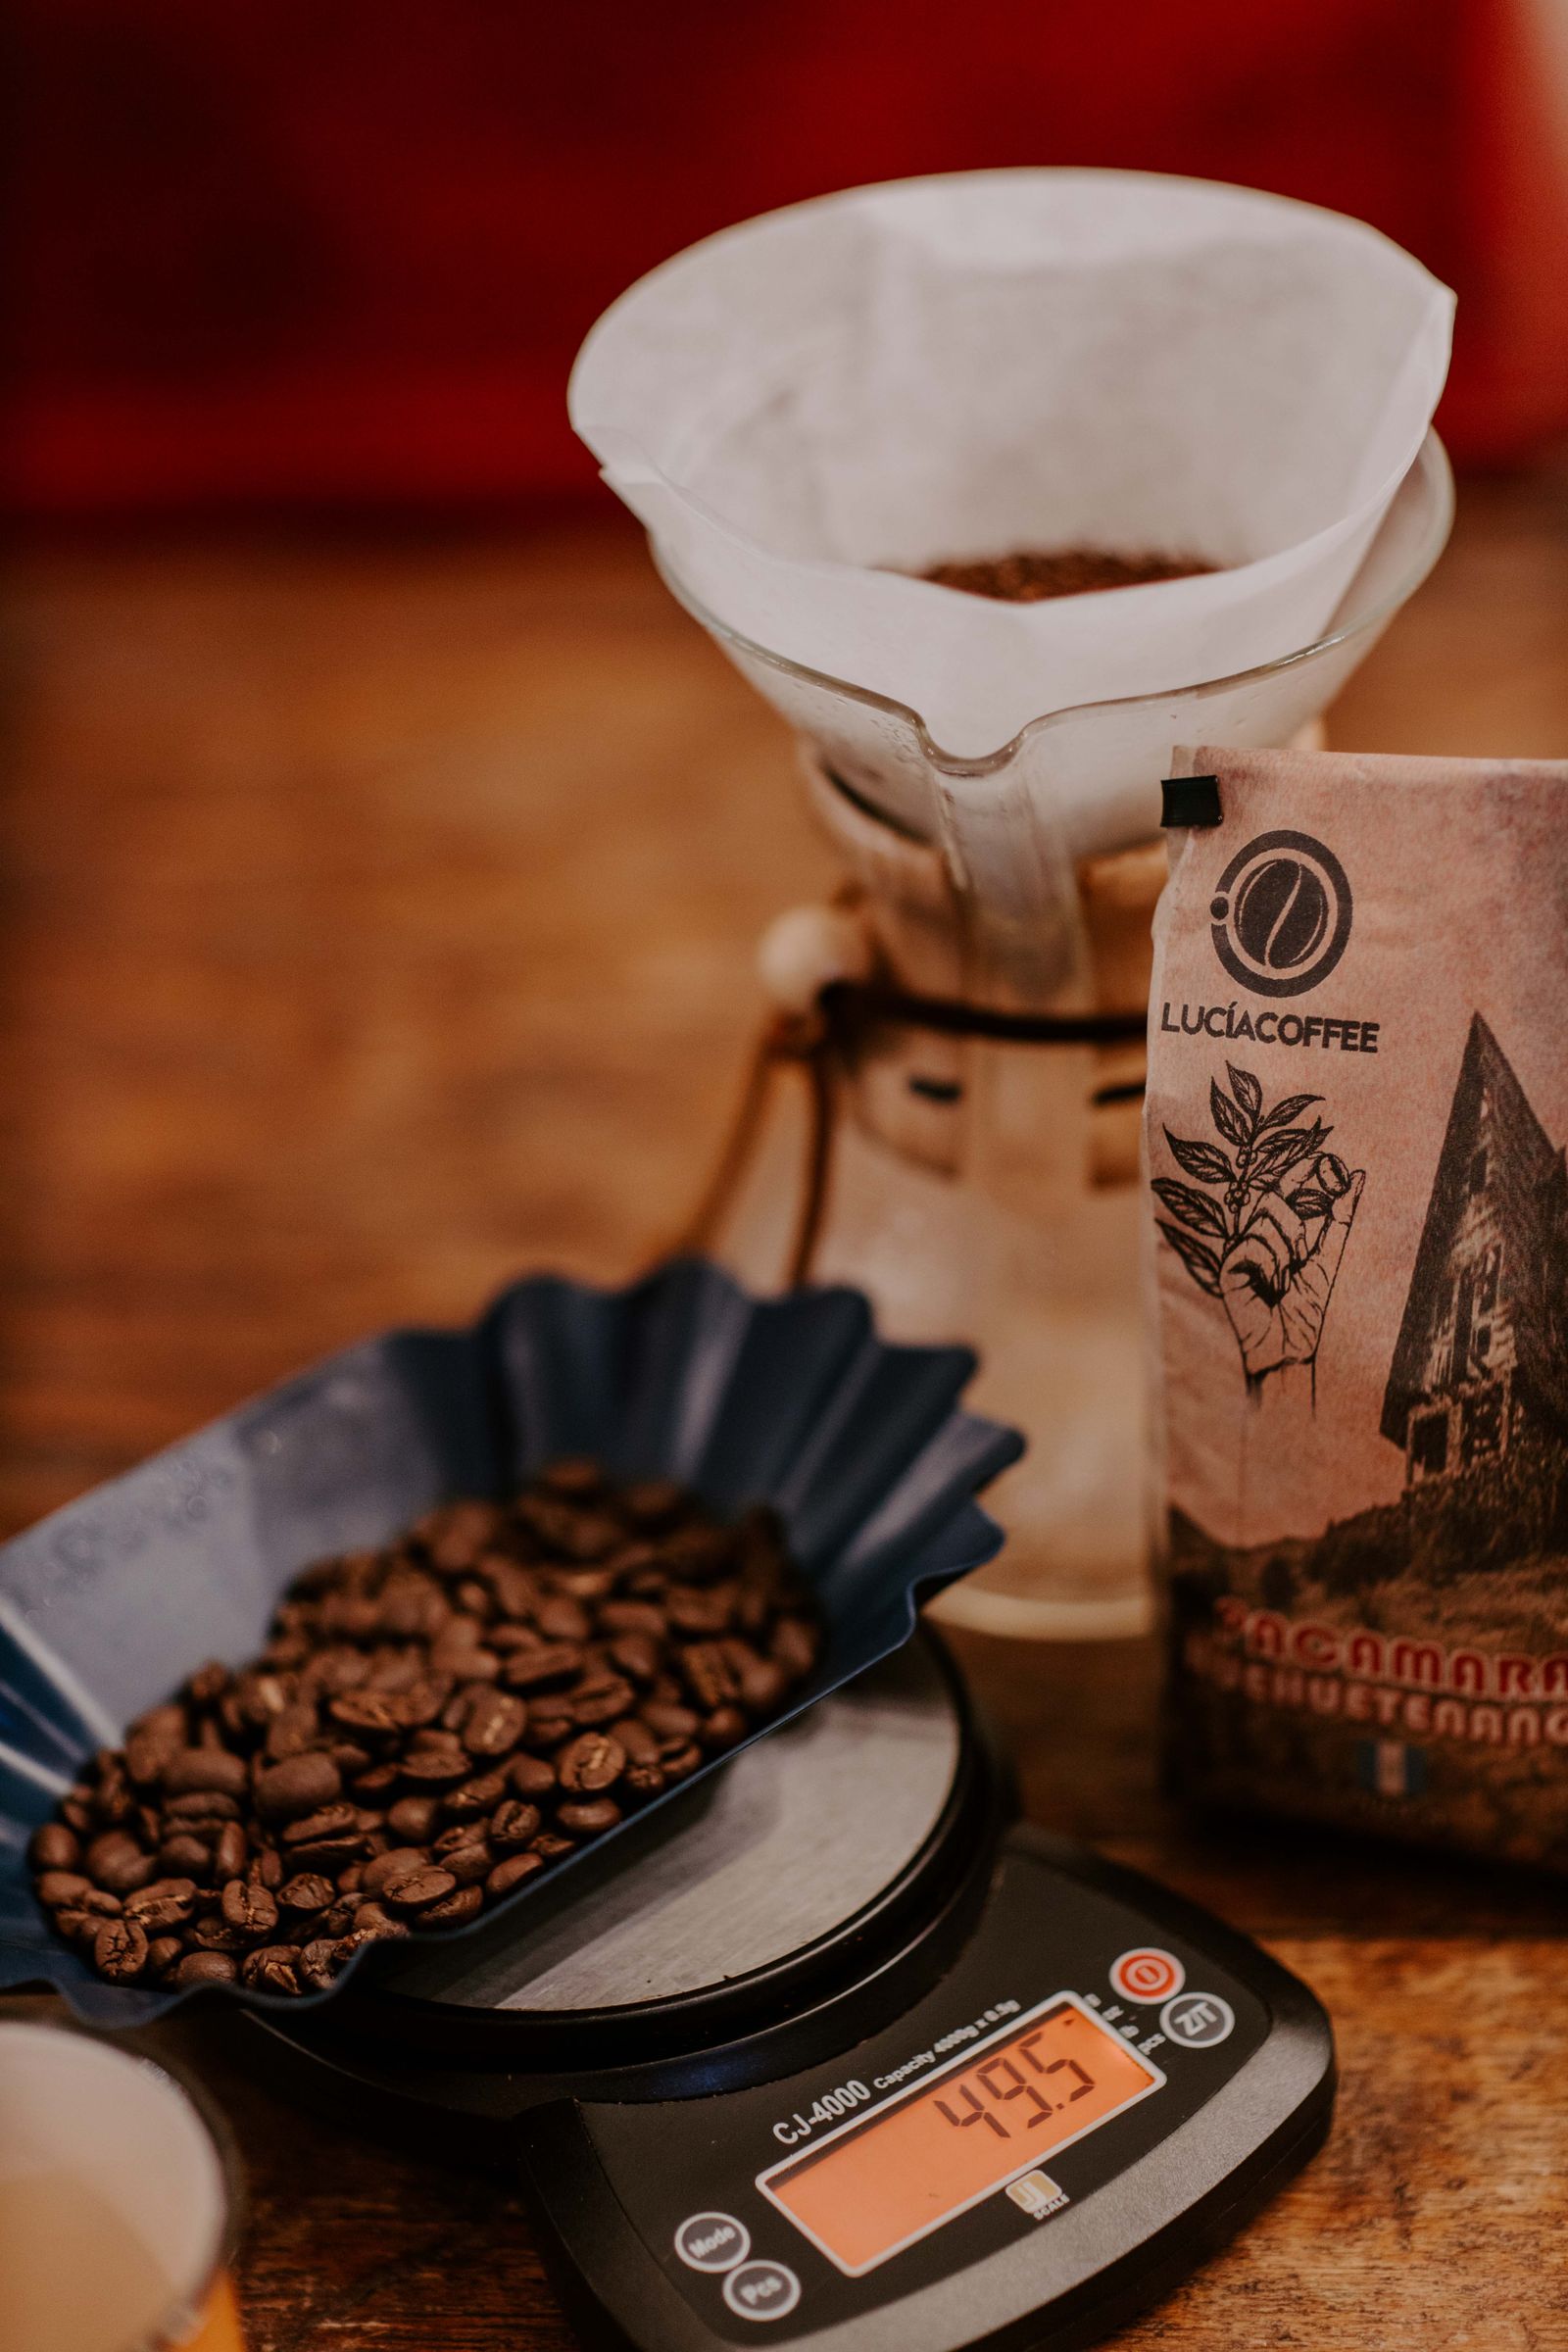
You can use the same beans, the same grinder, and the same brewer, and still end up with a cup that's watery one morning and punchy the next. The lever that moves the needle the most is your coffee-to-water ratio — how much coffee you use relative to how much water.
Most guides hand you a chart and call it done. This one goes further. You'll learn what a ratio actually means, the numbers that work for every common brew method, and — the part that most articles skip — how to dial in a cup that's exactly as strong as you like it.
One quick bit of housekeeping first. We're going to focus on the thinking behind ratios, not a single step-by-step recipe. For the exact grams, grind, and pour schedule for a specific brewer, we'll point you to the right recipe as we go. And if you want the bigger picture of pour over as a craft, start with our complete guide to Japanese pour over.
What a coffee ratio actually is
A coffee ratio is simply the grams of water you use for every gram of coffee. When you see something like 1:16, it means one part coffee to sixteen parts water — one gram of coffee for every 16 grams of water.
That's it. But that one number is what makes your coffee repeatable. Nail down the ratio and you can hit the same strength cup after cup, then adjust it on purpose instead of by accident.
Why grams beat "scoops"
Here's the problem with a scoop or a tablespoon: it measures volume, not weight. And the weight of a scoop of coffee changes with the roast, the grind, and even how fresh the beans are. A scoop of light-roast beans weighs more than the same scoop of oily dark roast, because darker beans are less dense. Two "scoops" can be wildly different amounts of actual coffee.
Weigh your coffee and water in grams instead, and the guesswork disappears. You get the same cup every time — and when you change something, you know exactly what you changed. Honestly, a kitchen scale is the single best upgrade most home brewers can make, and a decent one costs less than a couple of bags of good beans.
This obsession with measuring precisely isn't new. Japan's hand-drip and kissaten culture — the country's classic coffee houses, where a master might pour a single cup by hand — leaned into that kind of precision long before pour over went mainstream in the U.S. More on that later.
If you want to see that precision in action, here's how a Japanese café dials in precision from grind to pour.
How to read a ratio (1:16, and what moves the cup)
Once you know the notation, ratios are easy to read at a glance:
- 1:16 = 1 gram of coffee to 16 grams of water.
- The smaller the second number, the stronger the cup. 1:15 uses less water per gram of coffee, so it's more concentrated.
- The larger the second number, the lighter the cup. 1:17 spreads the same coffee across more water, so it's weaker and more delicate.
So the whole scale is intuitive once you see it: 1:15 leans stronger, 1:17 leans lighter, and 1:16 sits in the middle as a balanced place to begin.
To make it concrete: brewing at 1:16 with 15 grams of coffee means about 240 grams of water — a bit under a standard 8-ounce mug once you account for what the grounds soak up. That's your everyday single cup.
Want to brew a real 1:16 cup right now? Here's our step-by-step V60 recipe at 1:16, with every number worked out for you.
The golden ratio (a place to start, not a rule)
You'll often hear about the "golden ratio," which comes from the Specialty Coffee Association's Golden Cup standard — an industry benchmark for a well-extracted, balanced cup. The standard is usually expressed as about 55 grams of coffee per liter of water (give or take 10%), which works out to roughly 1:18. In everyday brewing you'll see it discussed as a range of about 1:15 to 1:18, depending on how strong you like your coffee.
Here's the important part, though: the golden ratio is a starting point, not a verdict. It's a sensible default that assumes a certain kind of coffee brewed a certain way. Your beans, your roast, your brewer, and — most of all — your taste all give you permission to move off of it. Don't treat it as the "correct" answer. Treat it as the middle of the room you get to walk around.
If you want to understand the brewing theory behind it — why extraction works the way it does — the pillar guide breaks it down.
Coffee-to-water ratio cheat sheet (by brew method)
Different brewers want different ratios, mostly because they extract differently and produce different amounts of drink. Immersion methods that steep the grounds tend to run stronger; espresso plays an entirely different game. Here's a quick reference for the most common methods.
| Brew method | Typical ratio | Notes |
|---|---|---|
| Pour over / drip | ~1:15 – 1:17 | 1:16 is an easy, forgiving place to start |
| French press | ~1:12 – 1:15 | Full immersion; brews heavier and more full-bodied |
| AeroPress | ~1:12 – 1:16 | Very flexible, from concentrated to drip-style |
| Espresso | ~1:2 (brew ratio) | Roughly 18 g in → ~36 g out; this is a "yield," not a dilution |
| Cold brew concentrate | ~1:5 – 1:8 | Meant to be cut with water, milk, or ice before drinking |
| Cold brew, ready to drink | ~1:12 – 1:15 | Brewed weaker so you can drink it straight over ice |
Two quick notes on that table. First, espresso's 1:2 looks like a completely different animal because it is — that's a brew ratio, comparing the weight of coffee going in to the weight of liquid espresso coming out, not coffee to total water. So don't compare it directly to a pour over's 1:16.
Second, every number here is a range, not a law. The next section is where you learn to move within that range toward the cup you actually want.
For the pour over methods above, here are the full recipes: our step-by-step V60 recipe and the Kalita Wave recipe. And if you want a ratio in real-world seasonal action, see how it plays out in flash-brewed Japanese iced coffee.
Strength vs. extraction — the distinction that changes everything
This is the concept that separates people who guess from people who dial in. Strength and extraction sound like the same thing. They aren't.
- Strength is how concentrated your cup is — how much dissolved coffee is packed into the water. Strength is driven mostly by your ratio. More coffee or less water makes a stronger, more intense cup.
- Extraction is how much you actually pulled out of the grounds — and it controls flavor balance. Extraction is driven by grind size, brew time, water temperature, and how you pour, not by the ratio.
Now the part beginners most want: translating those into taste.
| If your coffee tastes... | The likely cause | What to change |
|---|---|---|
| Sour, sharp, or "green" | Under-extracted — you didn't pull enough out | Extraction: grind finer, brew hotter, slow down |
| Bitter or harsh/drying | Over-extracted — you pulled too much out | Extraction: grind coarser, brew cooler, speed up |
| Thin and watery, but balanced | Too weak (strength, not extraction) | Ratio: use more coffee / less water |
| Heavy and intense, but balanced | Too strong (strength, not extraction) | Ratio: use less coffee / more water |
Read that table twice, because it dissolves the two biggest myths in home brewing. Strong doesn't mean bitter. Weak doesn't mean sour. You can have a strong cup that's perfectly smooth and a weak cup that's unpleasantly sour — strength and flavor balance are separate dials. As the saying goes, "strong" isn't a flavor.
So here's the practical order of operations: fix your extraction first so the cup tastes balanced — not sour, not bitter — and then use the ratio to set the strength where you like it. That order is exactly what the next section walks through.
To see extraction handled well in an actual brew, the complete pour over guide and Japanese café method both show it from grind to cup.
How to dial in your ratio (a simple loop)
Dialing in isn't magic — it's a short, repeatable loop. Run it a few times and you'll land on your cup.
Step 1 — Start at 1:16
When in doubt, begin at 1:16. A clean starting point is 15 grams of coffee to about 240–250 grams of water. Brew it — and write it down: the grams, the grind setting, and the total brew time. You can't improve what you don't record.
Step 2 — Taste, then decide: strength or balance?
Take a sip and ask one question: is this a strength problem or a balance problem?
- "It's too weak / too strong" → that's strength. Move the ratio (go to Step 3).
- "It's sour / it's bitter" → that's balance, which means extraction. Leave the ratio alone and fix the brew (go to Step 4).
This is the strength-vs-extraction distinction doing real work. Sorting your complaint into the right bucket is 90% of dialing in.
Step 3 — Move the ratio to taste
If it's a strength issue, nudge the ratio:
- Want it stronger? Move toward 1:15 — add a gram or two of coffee, or use a little less water.
- Want it lighter? Move toward 1:17 — a bit less coffee, or a little more water.
Change one thing at a time, then taste again. If you move the ratio and the grind in the same brew, you won't know which one did what.
Step 4 — If it's sour or bitter, adjust extraction (not ratio)
If it's a balance issue, keep the ratio exactly where it is and adjust the brew instead:
- Sour? Grind finer, brew a little hotter, or slow the pour down to pull out more.
- Bitter? Grind coarser, brew a little cooler, or speed the pour up to pull out less.
The ratio stays put; you're only tuning flavor here.
The whole secret is boring but real: one variable at a time, and write down every brew. Do that and you'll get better faster than any single "perfect recipe" could take you.
When you're ready for the exact grind, temperature, and pour schedule, the V60 recipe lays all of it out.
A Japanese take on ratio — precision as a philosophy
If ratios are about control, no coffee culture has chased control harder than Japan's. In the country's hand-drip tradition and its kissaten — old-school coffee houses where brewing a single cup is treated as a craft — measuring and managing every variable has long been the whole point. Precision isn't fussiness there; it's a philosophy.
You can see that mindset distilled in Tetsu Kasuya's 4:6 method, the technique that won him the 2016 World Brewers Cup. Its base is a 1:15 ratio — for example, 20 grams of coffee to 300 grams of water. But the clever part is what happens within that ratio: the water is added in staged pours, split roughly 40% to shape flavor (the balance of sweetness and acidity) and 60% to shape strength. Same total ratio, but the distribution of the water designs the cup. It's the perfect illustration of this whole article's point — the ratio is your foundation, and everything else is how you finish it.
We won't get into the exact pours and timing here. For the full Kasuya 4:6 method, explained step by step, head to the V60 recipe. And for the culture that produced this kind of precision, read about the kissaten tradition.
FAQ
What's the best coffee-to-water ratio?
There isn't one universal answer — it depends on your brewer, your beans, and your taste. That said, 1:16 is the best all-purpose starting point, and for pour over most people land somewhere in the 1:15 to 1:17 range. Start there and adjust to taste.
Does a lower ratio make coffee stronger or more bitter?
Stronger. A lower ratio (like 1:15) means more coffee per gram of water, so the cup is more concentrated. Bitterness is a separate issue — it usually comes from over-extraction (grind, time, or temperature), not from the ratio itself.
Do I really need a scale?
You don't need one, but it's the fastest way to make your coffee consistent. Volume measures like scoops and tablespoons drift with roast and grind, so the same "scoop" can be very different amounts of coffee. A basic kitchen scale removes that variable entirely.
How do I convert grams to cups or ounces?
As a rough guide, one "cup" of brewed coffee is often about 6–8 fluid ounces, which is roughly 180–240 grams of water before brewing. But those conversions are approximate — weighing in grams is always the reliable way to hit the same cup twice.
Need a recipe you can brew tonight? Start with our step-by-step V60 recipe.
The takeaway
Your ratio is the most powerful and the simplest lever you have. Start at 1:16, keep two dials separate in your head — strength lives in the ratio, flavor balance lives in extraction — and change one thing at a time while you write it all down. Do that consistently and your coffee will keep getting better.
From here, two next steps: get the full picture in our complete guide to Japanese pour over, and put a ratio to work with our step-by-step V60 recipe.